Understanding Failure to Fire
Possible causes for failure to fire (light strikes) and solutions.
1. Striker assembly has not been properly assembled *this applies to Nucleus and Mausingfield actions only*
Solution: Reassemble the striker assembly ensuring that the castle nut has been screwed down onto the striker so that the distance between the firing pin tip and the face of the castle nut is at least 1.335". Pin protrusion from the bolt face should be between .035 and .045". Click icon below for visual reference of proper & improper striker assembly.
2. Short sear bar is reducing striker fall distance.
Solution: Get a new trigger that has a longer sear bar. Ideally, a tiny bit of cock-on-close ensures that the striker spring is adequately compressed.
3. Grease or sticky (high viscosity) oil between striker (firing pin) shaft and the bolt shroud bore through which the shaft passes is robbing energy from the striker as it moves through the shroud.
Solution: Disassemble the striker assembly and de-grease with a solvent such as acetone or brake cleaner. Re-assemble the striker assembly without oil. Before inserting the striker assembly back into the bolt, apply grease to only the interface between the bolt shroud and the bolt body. Additionally, apply grease to the cocking cams of the bolt shroud. See attached drawing. Insert the striker assembly back into the bolt body to complete this procedure.
4. Bolt handle has not been fully rotated to the closed position due to interference with stock.
Solution: Check to ensure the bolt handle in the closed position is not contacting the stock or the chassis. If contact is detected, modify the stock or chassis as required to ensure that the rotation of the bolt handle is arrested by contact with the receiver rather than with the stock.
5. Primers have not been fully seated.
Solution: Fully seat the primers. Typically, the face of a fully seated primer will be 0.008–0.012 inches below flush.
6. Insufficient work done by the striker spring due to permanent spring deformation or modification.
Solution: Replace the striker spring.
7. Modification to cocking piece has reduced striker fall.
Solution: Replace cocking piece.
8. Excessive head space.
Solution: Reset head space using the correct go and no-go for the chamber.
9. Improperly cut chamber allows for forward movement of cartridge upon being struck by the striker.
Solution: Replace or re-cut the barrel so that the chamber.
Summary
In general, we have found that most of the Nucleus light strike issues have been caused by improper assembly of the striker mechanism.
When re-assembling the striker mechanism, it is imperative that the castle nut be screwed down onto the firing pin (striker) so that the MINIMUM distance between the tip of the firing pin and the forward face of the castle nut is 1.335 inches. Measure this carefully.
When reassembling the striker mechanism, make sure to push the lock washer down against the firing pin until it comes to a stop. This can be difficult because you must push against the striker spring to do it. Two sets of hands makes this much easier so get someone to help you with this and make sure that you are both wearing eye protection. Working with springs can be dangerous.
After your bolt has been fully assembled, the tip of the firing pin should protrude from the face of the bolt by 0.035 - 0.045 inches.
If your problems persist, please send us an email. If we cannot resolve the issue by email or phone, we will ask you to send your action and trigger to us.
There are many factors at play when it comes to light strikes and not all possibilities are listed above, so it can be difficult to diagnose, but there are numerous measures we can take to correct the problem.
The Nucleus was tested using 16 pound springs and CCI number 34 and number 41 primers. The tests were conducted in January of 2018 at a temperature in the low 40s. Since then, we have made 19, 21 and 25 pound springs available.
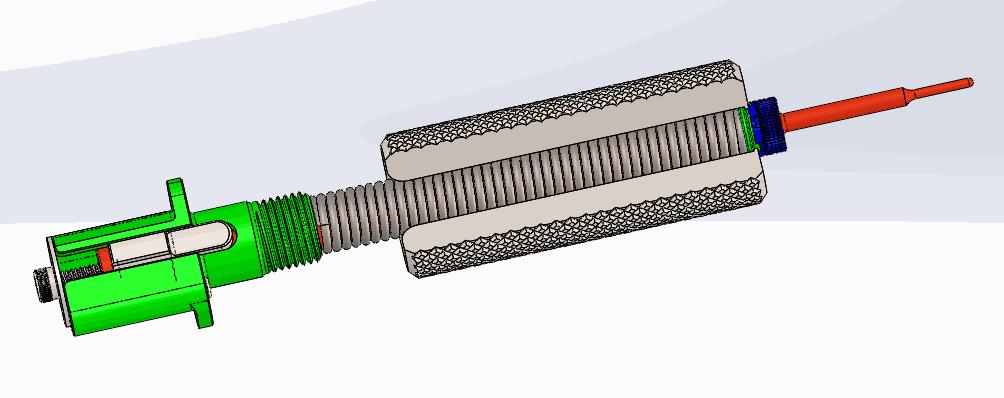
Also, we realize that disassembling the striker mechanism using the large washer that we provide with the action is difficult so are offering a striker assembly tool that will make the job much easier. This can be ordered from our website. See photo below.
Striker Spring Tool